
Alchemy Stone Build Guide
This guide is for building an Alchemy Stone with four front buttons and four shoulder buttons, L1, L2, R1 and R2. Feel free to customise your alchemy stone to your liking. If you don't want extra buttons such as X and Y, then ignore those steps.
Required Tools


3D Print Files (Optional)
The 3D printed parts are optional, but they make the assembly easier. They include a cutting guide for the additional X and Y buttons as well as a spacer for the LCD screen. There is a paper version of the X and Y button cutting guide below.
Paper Printable Guides
Paper printable file containing cutting guides for the joystick, back buttons and X, Y buttons.
A stepped drill bit makes cutting these holes easier.
Preparing the Gameboy Pocket Shell
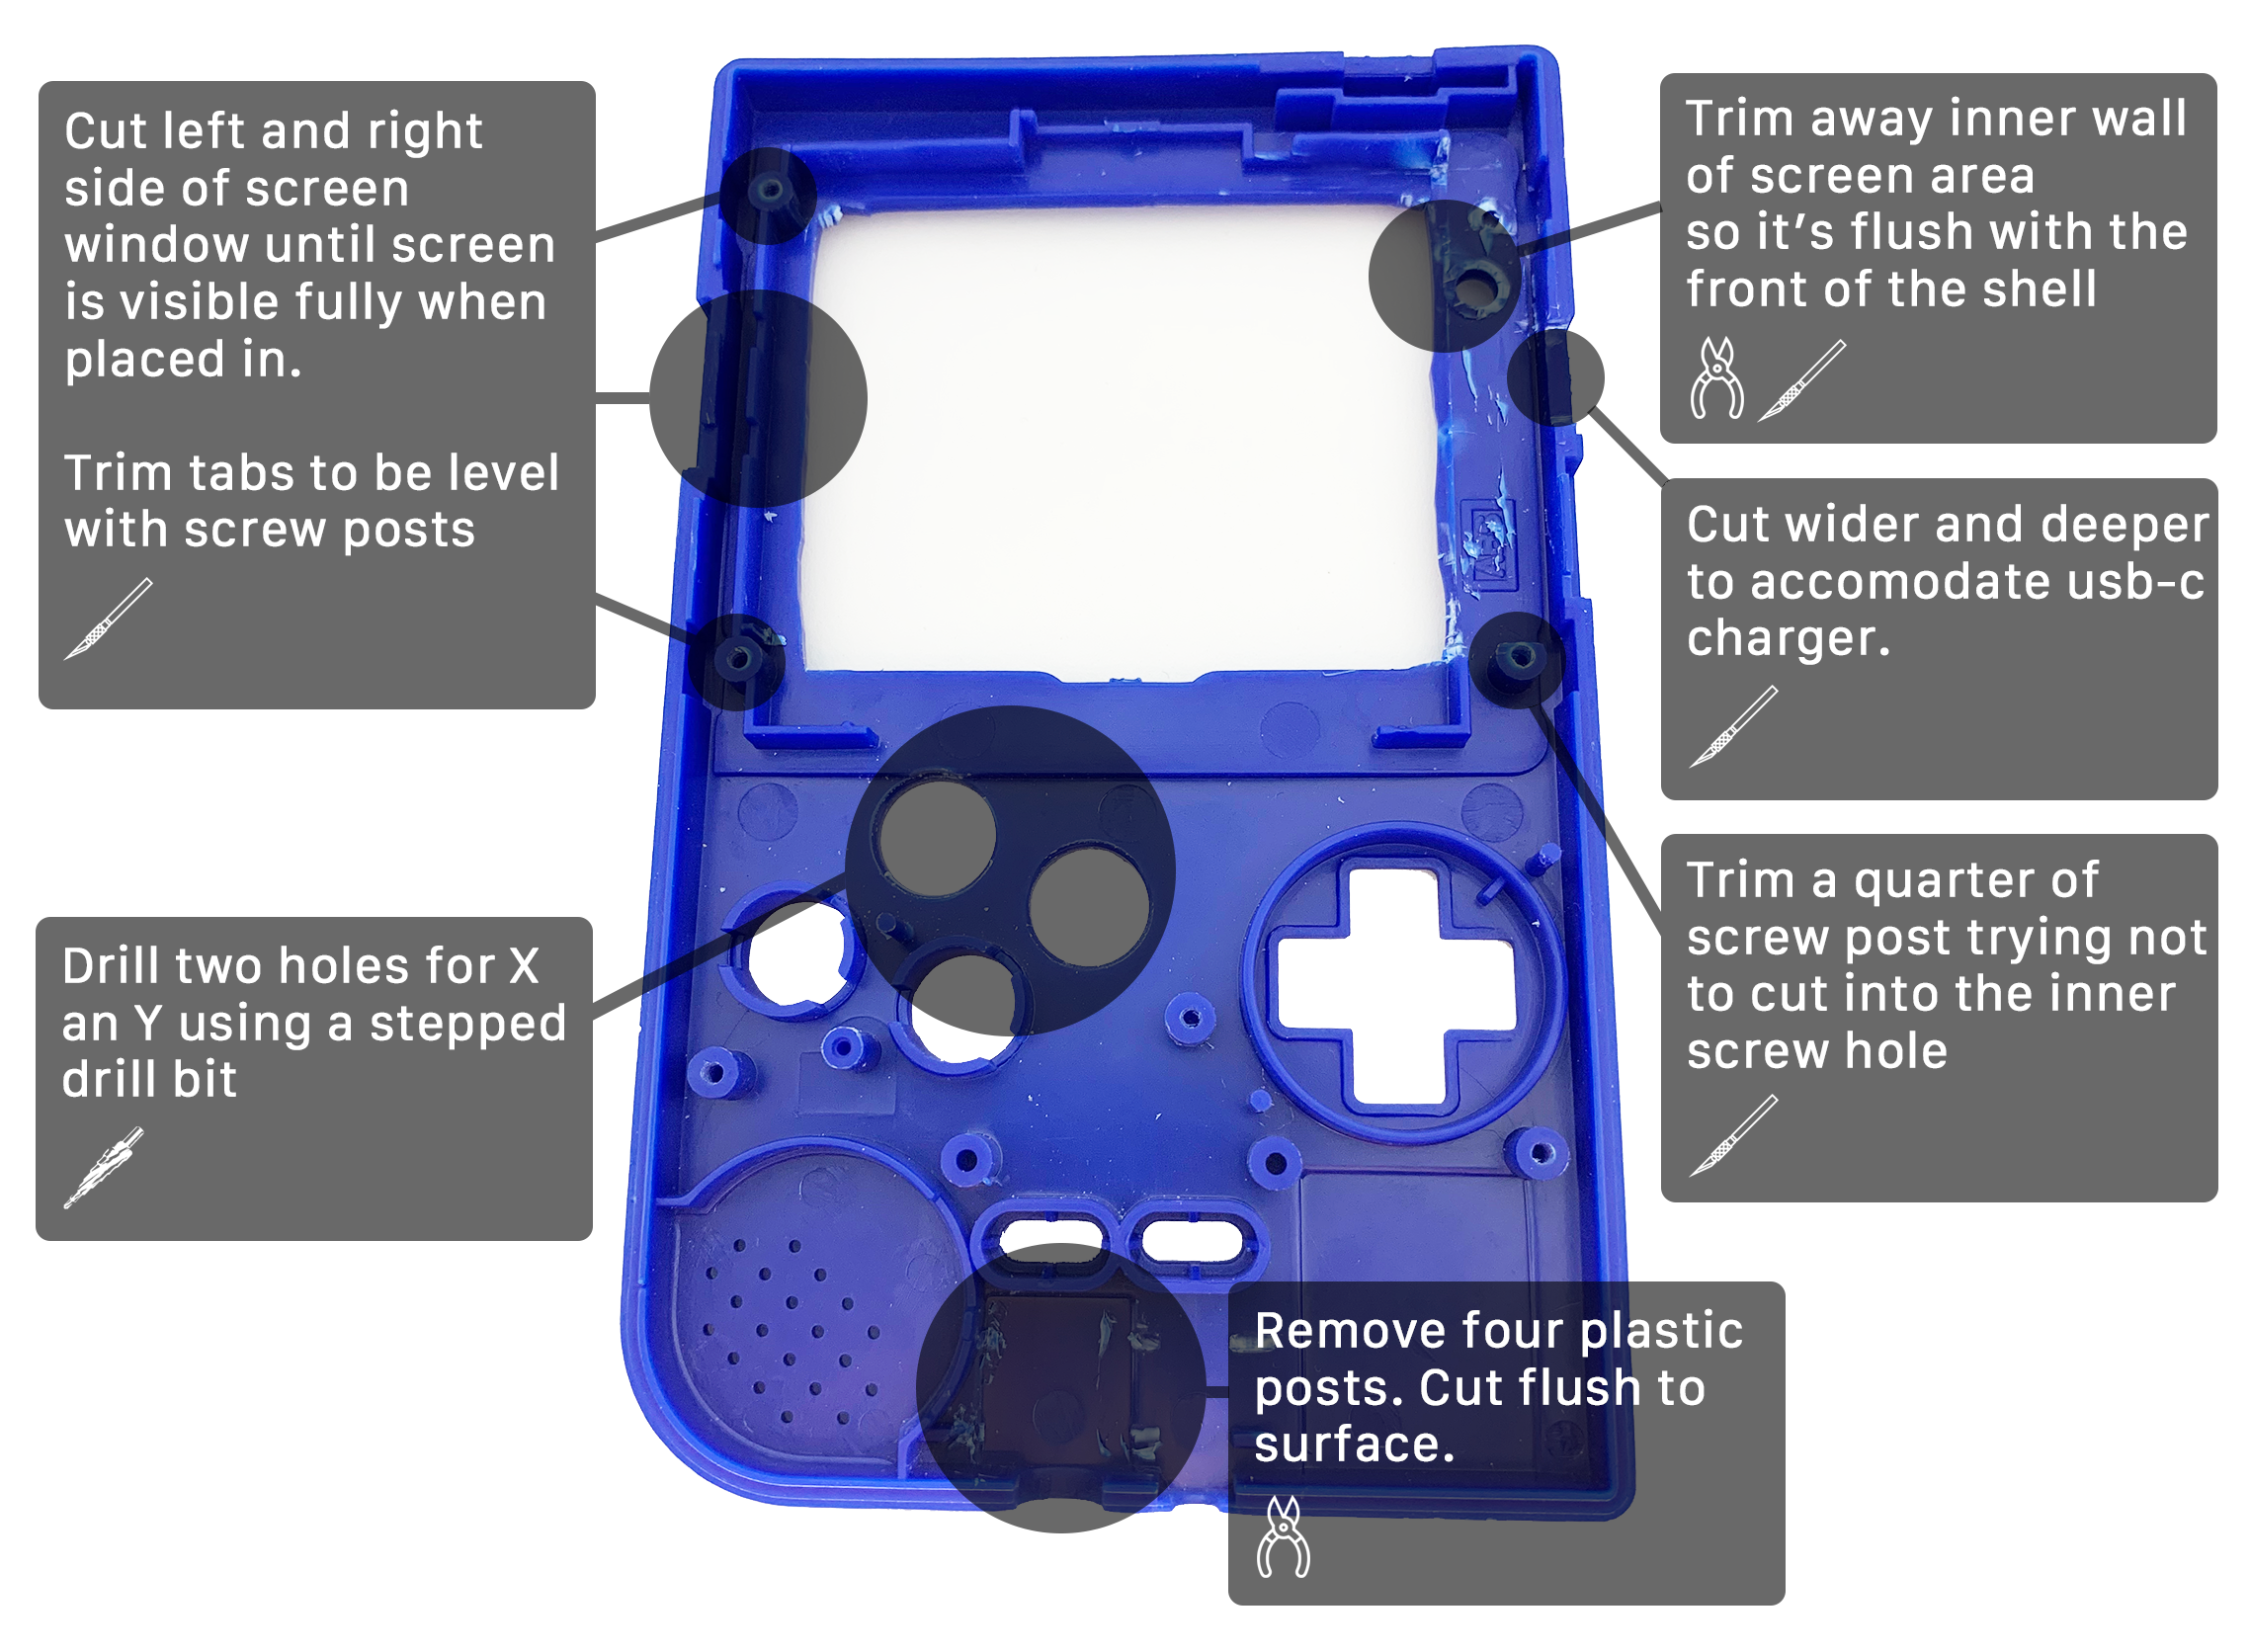
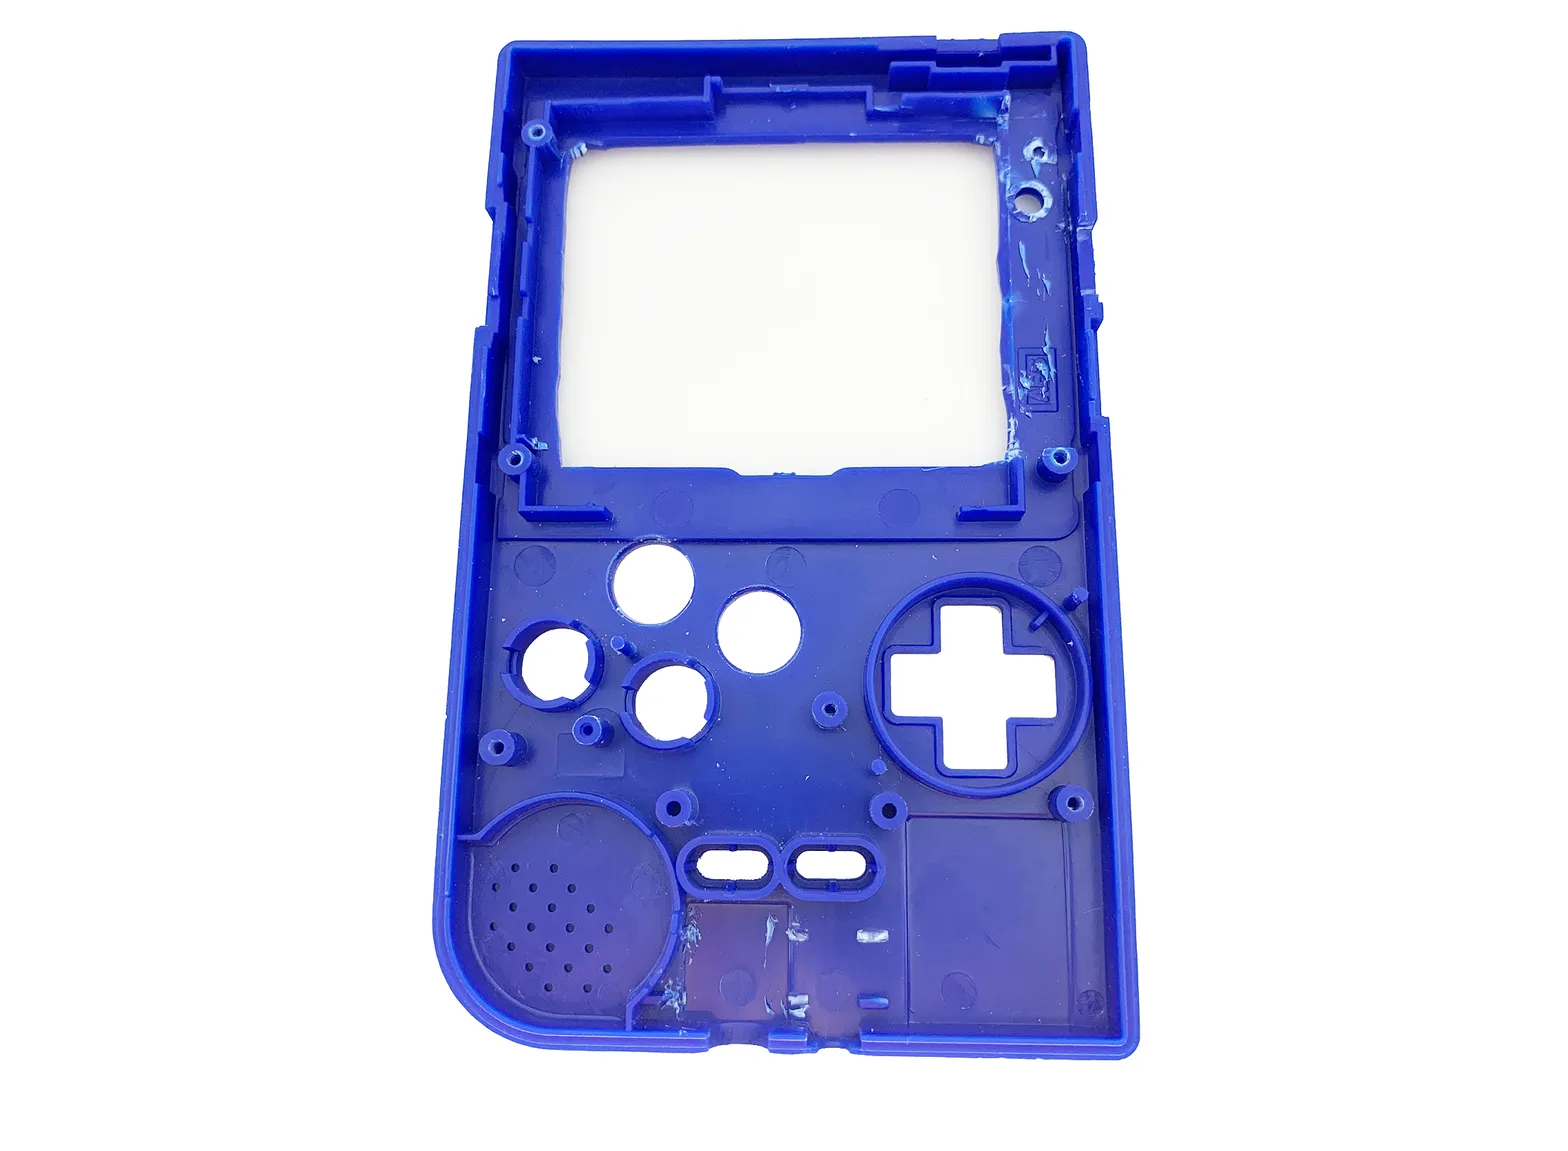
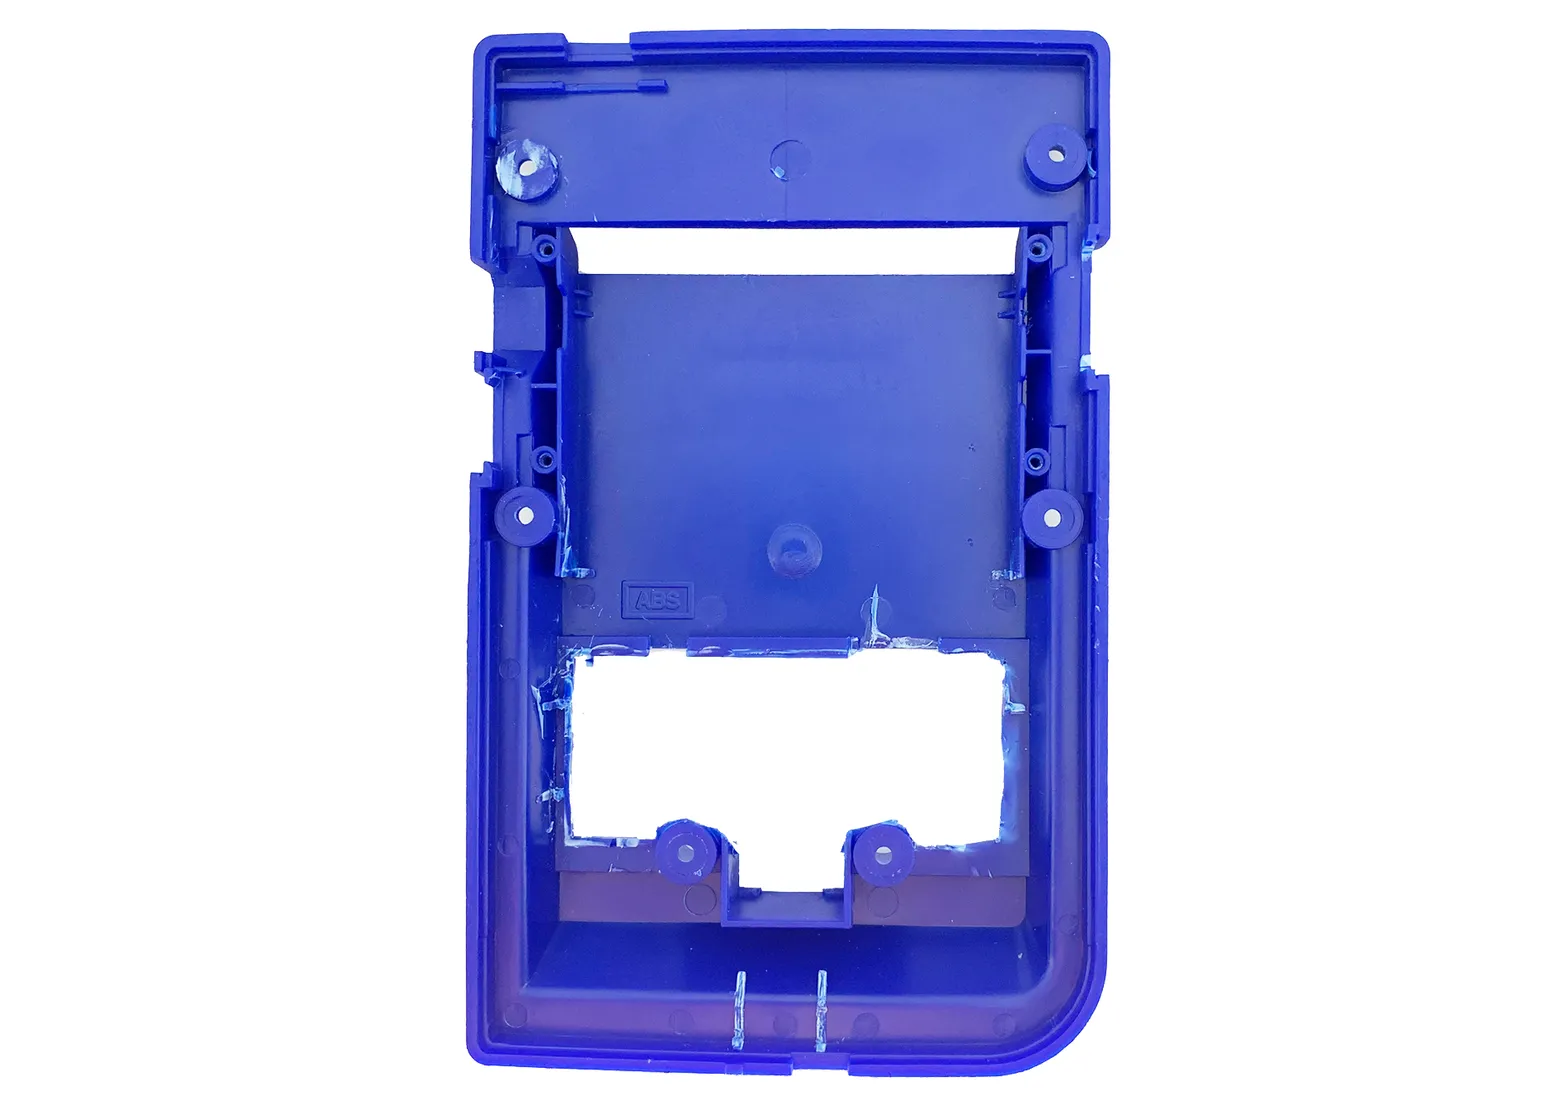
Front Shell
This is a summary of the modifications needed for the front half of the shell. There is extra detail below for specific parts.
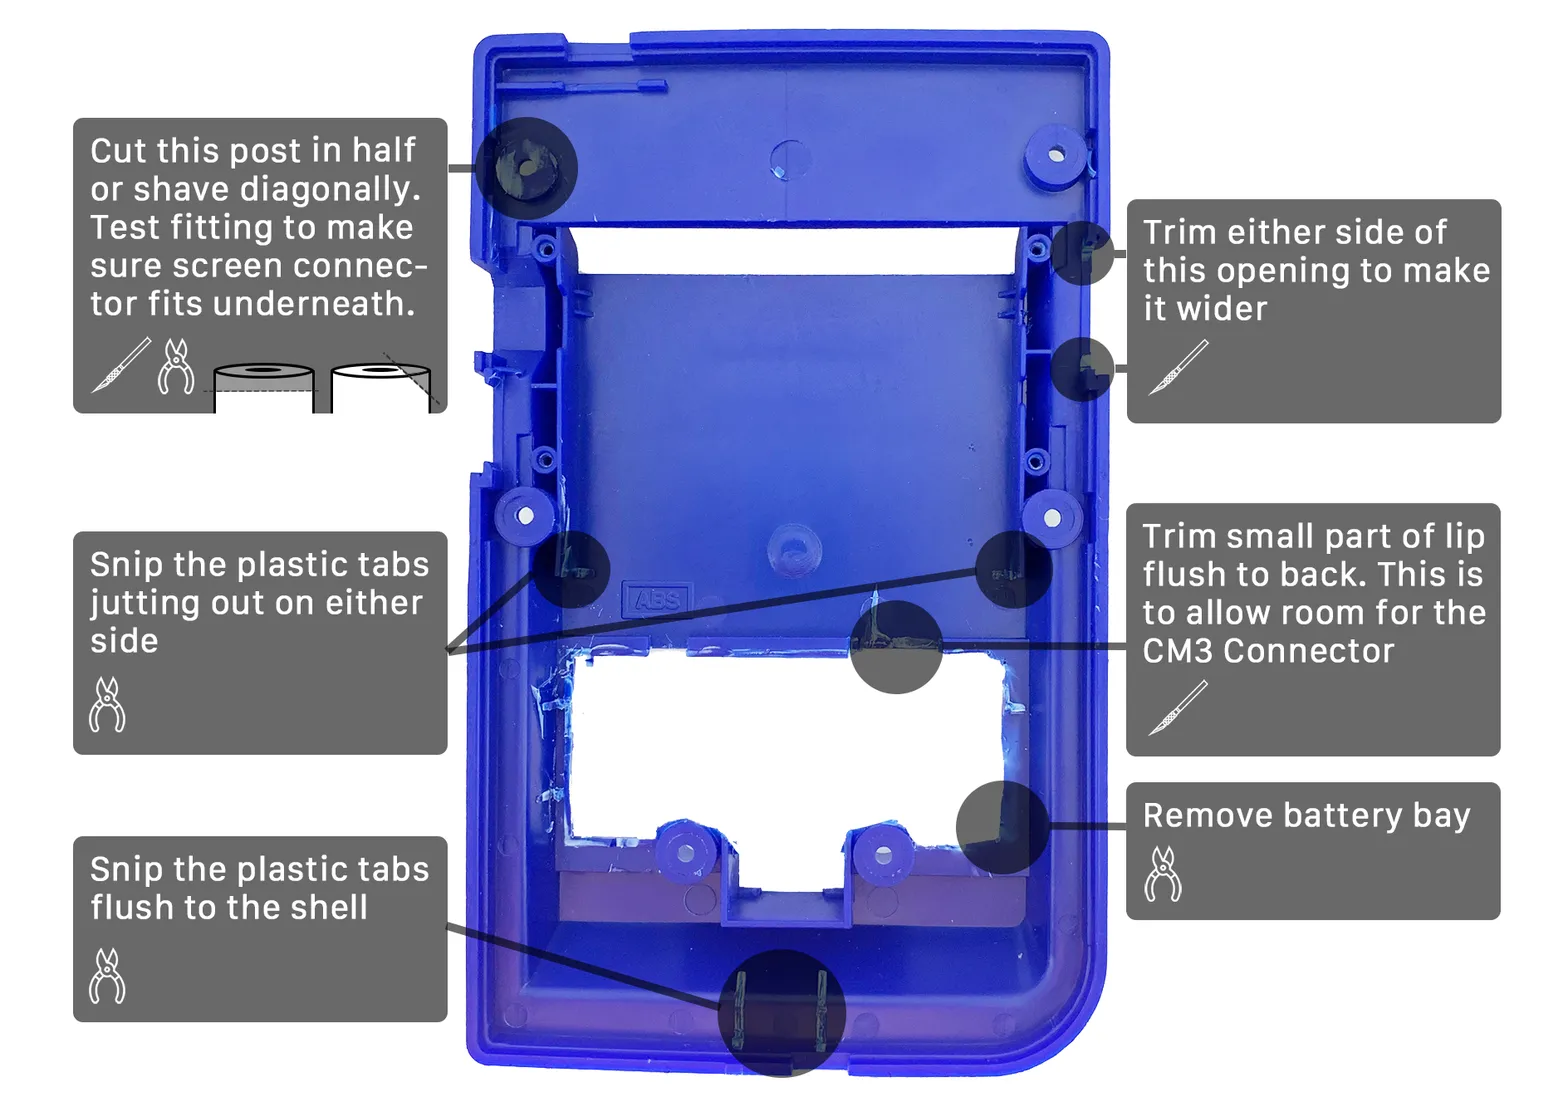
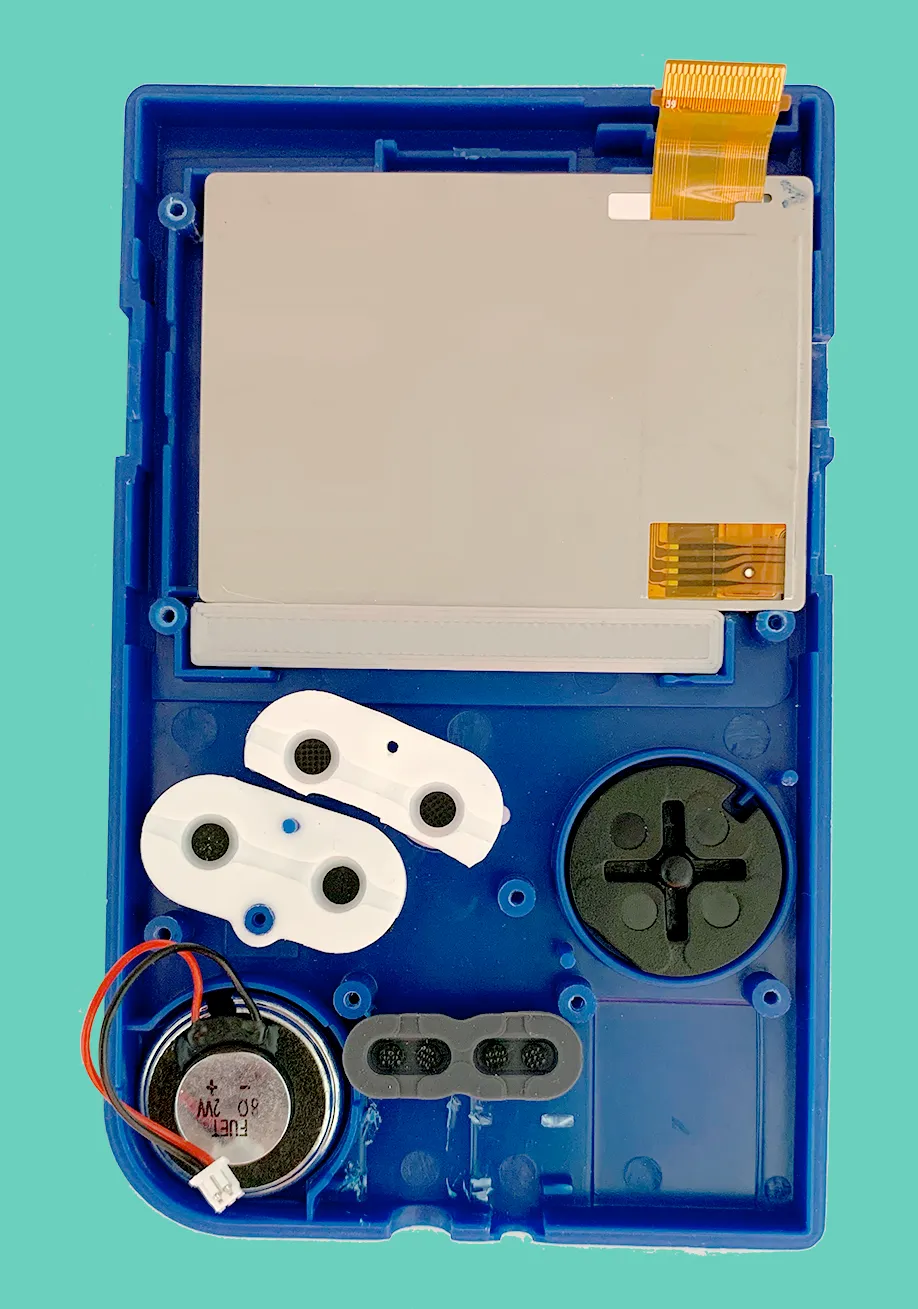
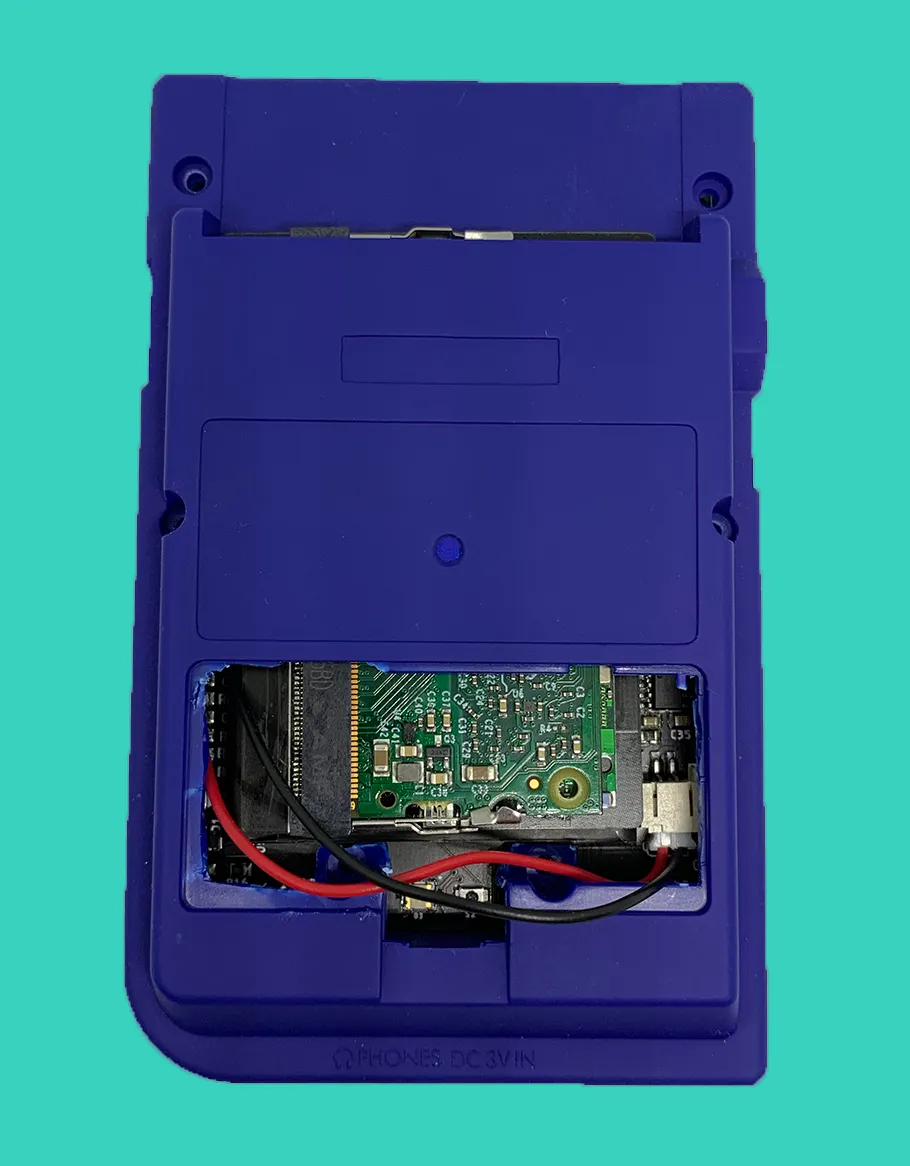
Back Shell
The most time consuming part is removing the battery bay. Take your time.
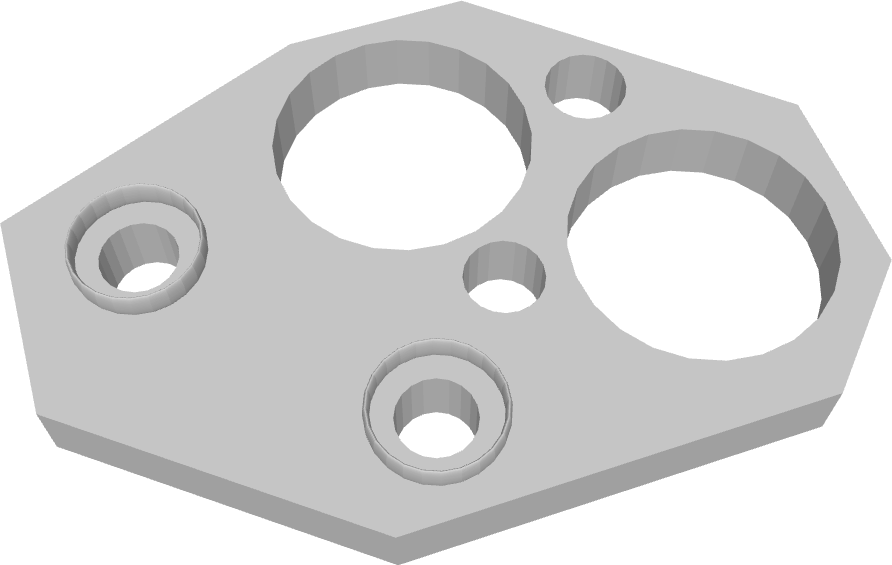
Cutting the shoulder buttons
Use either printed or 3D guide. Create small pilot indents first to avoid slipping with the drill.
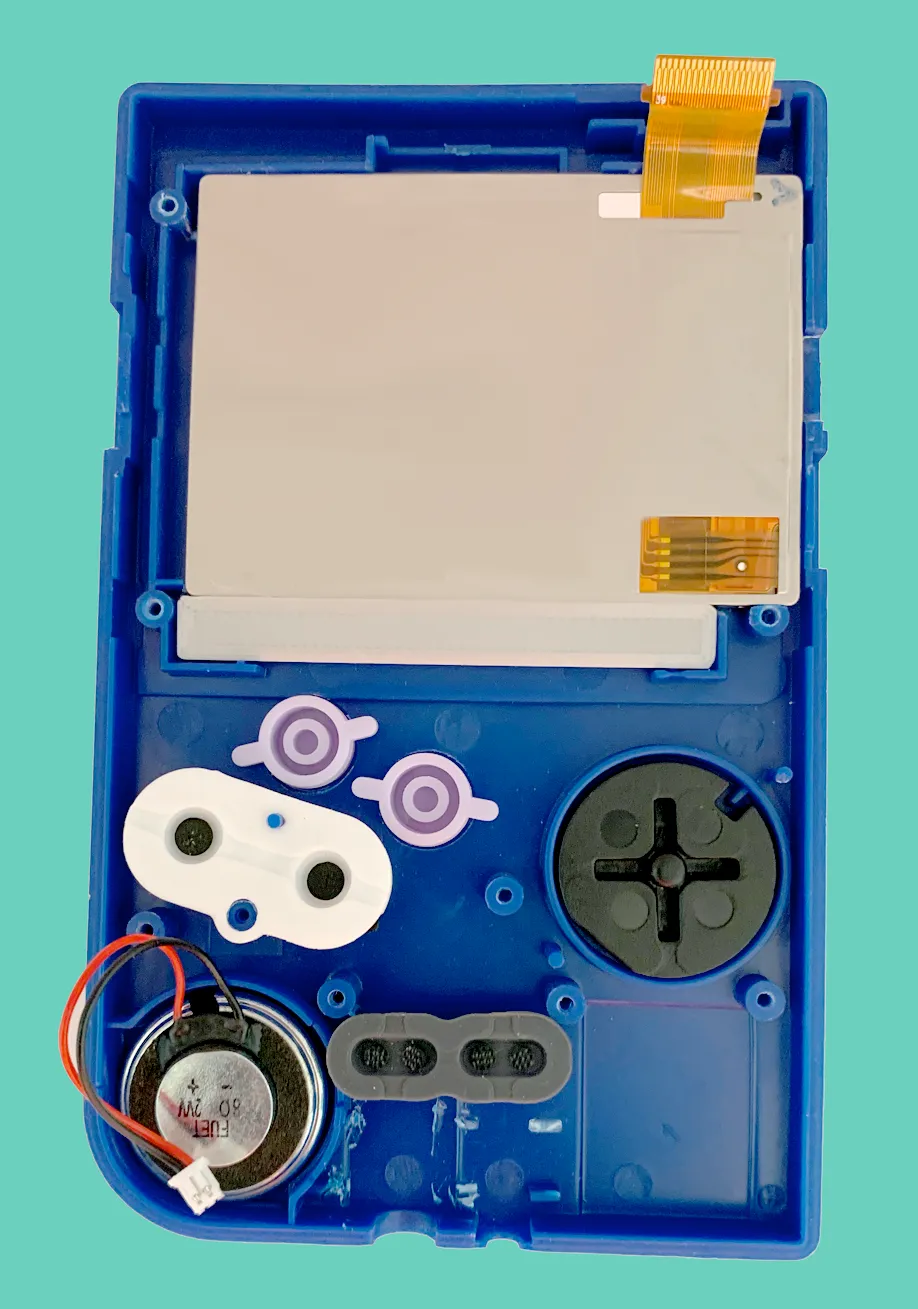
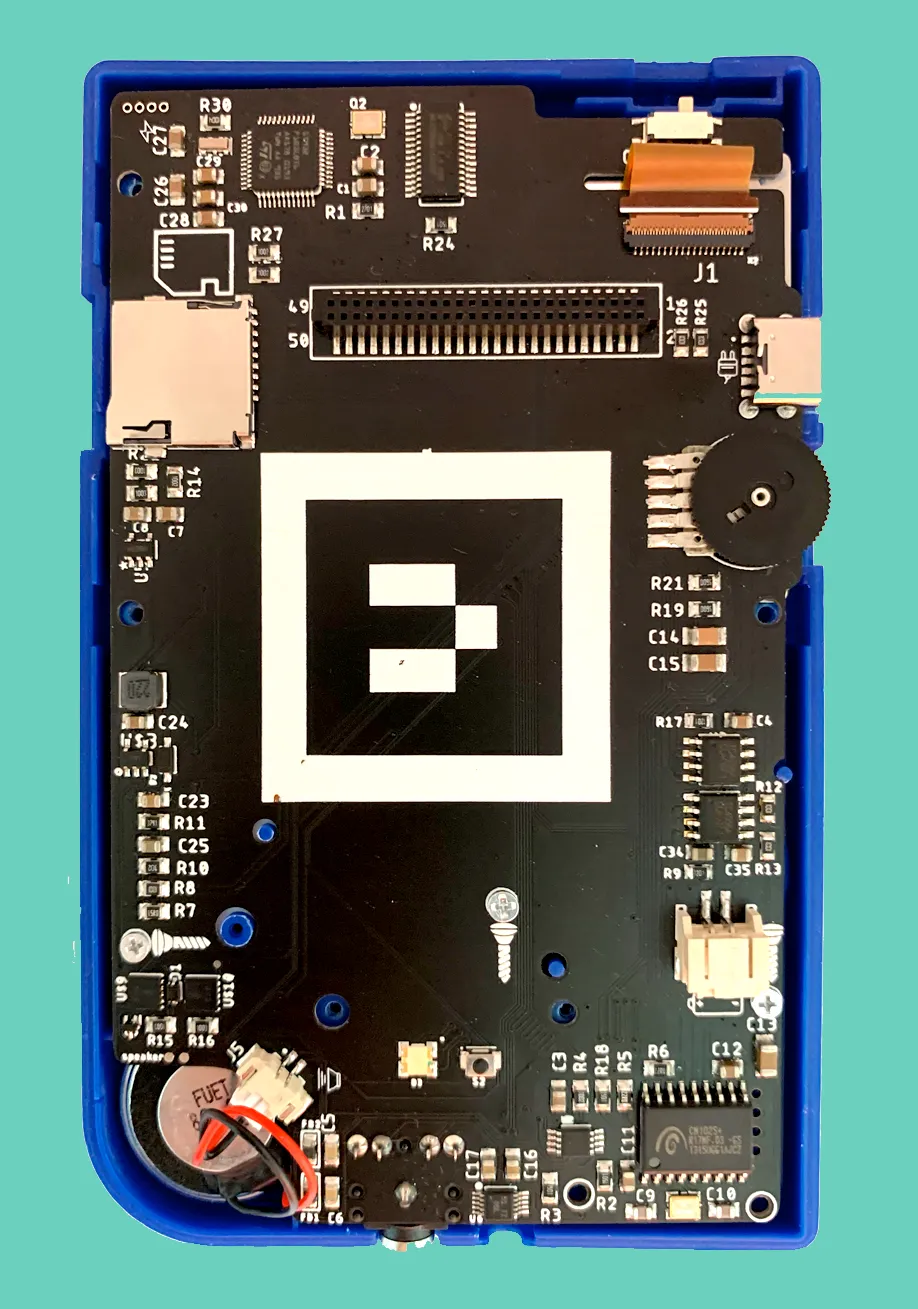
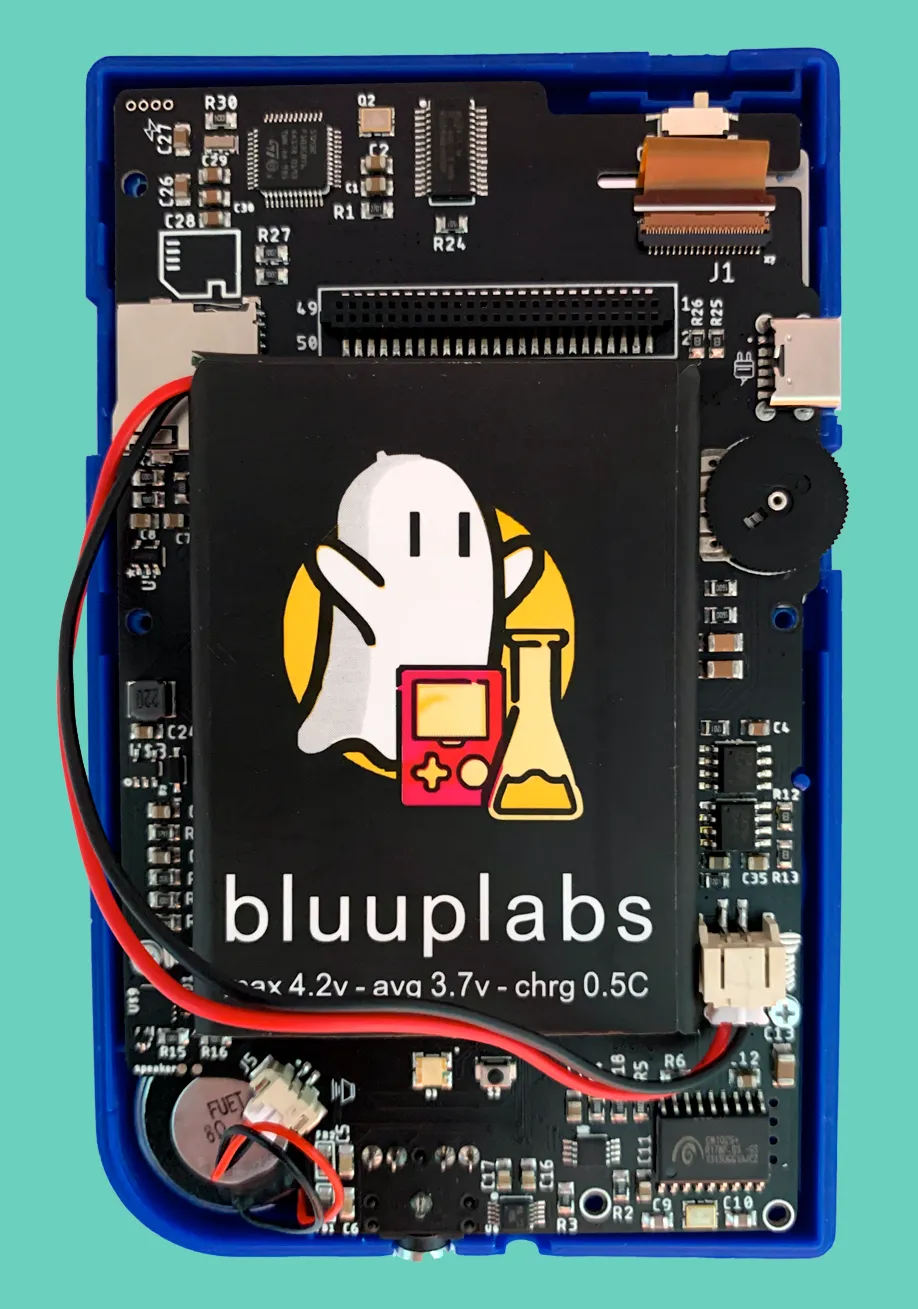
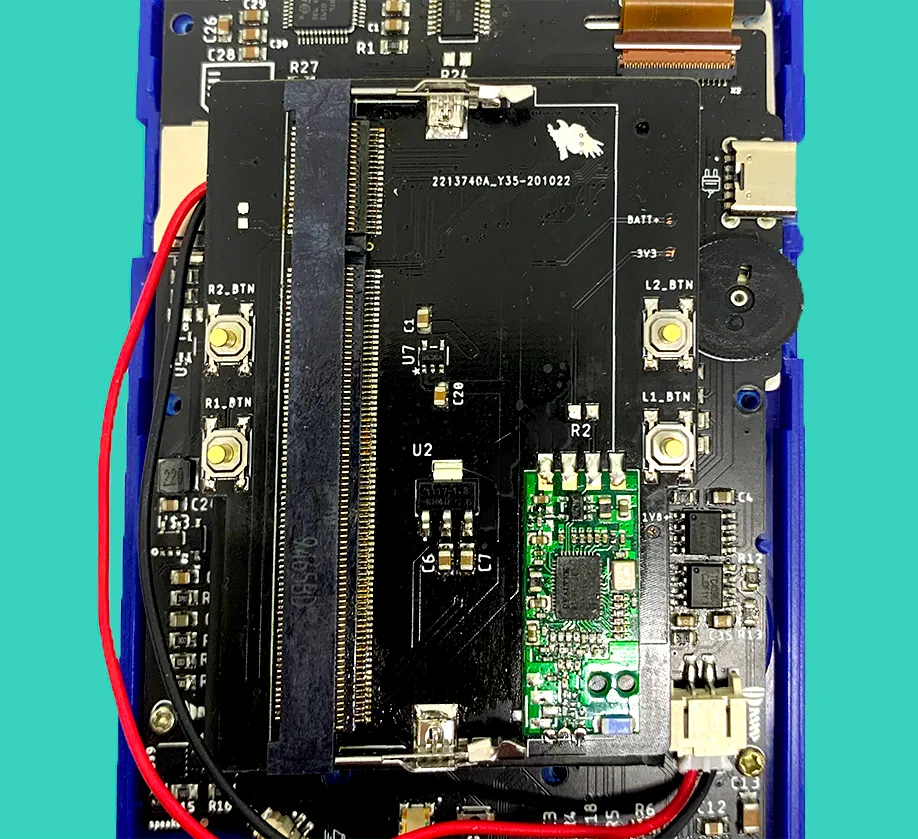
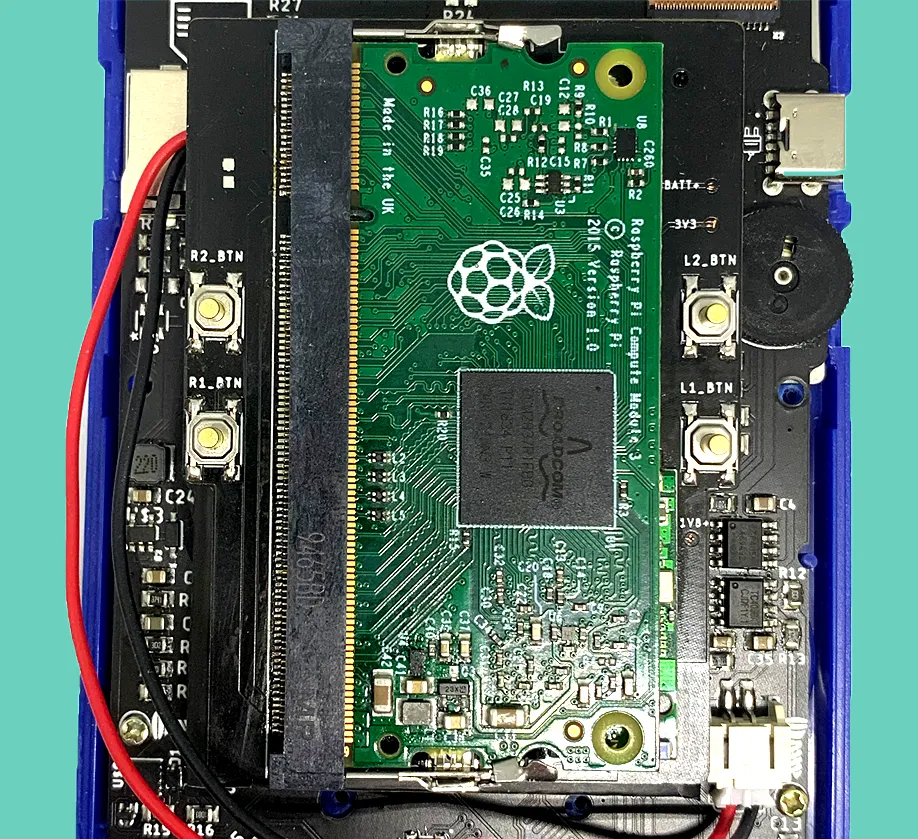
Assembly
Step 1
Step 2
Step 3
Step 4
Step 5
Step 6
Step 7
Celebrate! You're done!